
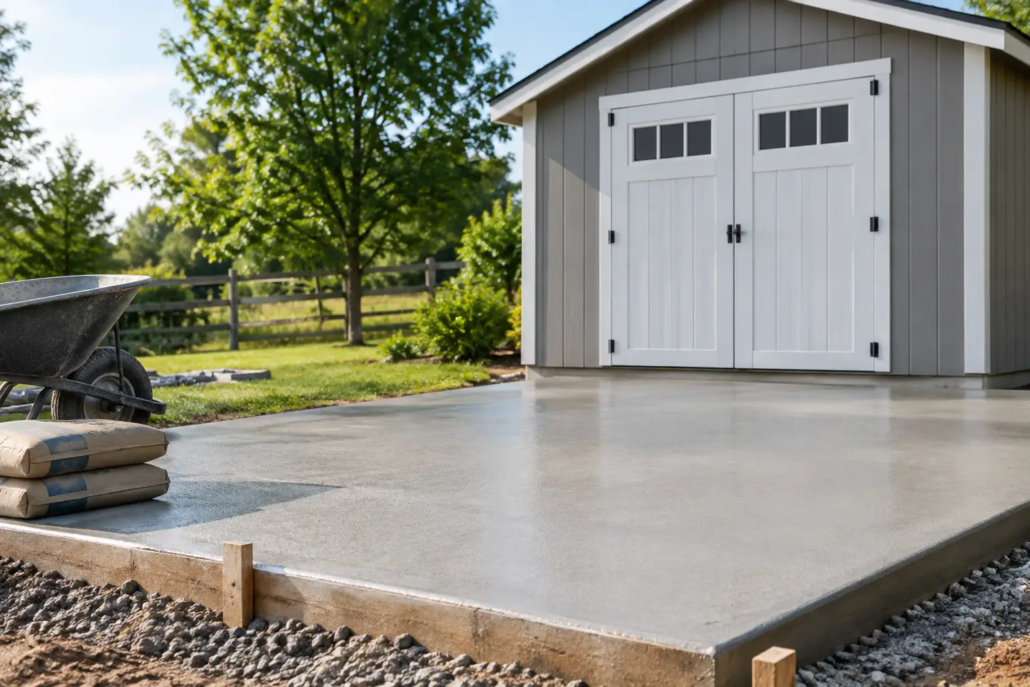
Best Concrete for Shed Floors That Lasts
A shed floor has a harder job than it first appears. It may carry shelving, lawn equipment, a heavy workbench, motorcycles or a vehicle, while also dealing with moisture, soil movement and the heat of a Queensland summer. Choosing the best concrete for shed floors means looking beyond a basic grey slab and matching the concrete, base and finish to how the shed will actually be used.
For most residential sheds, a properly prepared concrete slab delivers the best combination of durability, low maintenance and long-term practicality. The key is getting the details right before the truck arrives, because a strong concrete mix cannot compensate for poor ground preparation or inadequate drainage.
What is the best concrete for shed floors?
For a typical garden or storage shed, standard structural concrete with a compressive strength of around 25 MPa is often a suitable starting point. It provides a durable floor for tools, bicycles, mowers and general household storage when it is placed over a well-compacted base and reinforced appropriately.
A heavier-duty shed needs more consideration. If the floor will support a car, ute, camper trailer, machinery or a substantial workshop fit-out, a higher-strength mix such as 32 MPa may be more appropriate. The slab will usually need to be thicker as well, particularly where loads are concentrated under vehicle tyres, hoists, shelving legs or machinery feet.
The best choice is not always the strongest concrete available. A small garden shed on stable ground does not need the same slab design as a workshop with vehicle access. Specifying a slab that suits the loads, site conditions and intended use gives you a floor that performs properly without adding unnecessary complexity.
Start with the ground, not the concrete mix
The performance of a shed slab begins underneath it. Organic material, loose fill, roots and soft soil should be removed before the subgrade is levelled and compacted. A compacted road base or crushed rock layer creates a stable platform, helping to spread loads and reduce the risk of movement beneath the slab.
This preparation matters across Brisbane, Logan City and the Gold Coast, where soil conditions can vary considerably from one property to the next. Reactive clay, poorly compacted fill and sites that hold water require closer attention. If the ground is uneven or unstable, the slab may crack or settle even where quality concrete has been used.
Moisture also needs a clear path away from the shed. The surrounding ground should fall away from the slab so rainwater does not collect at the perimeter. For enclosed sheds, a vapour barrier beneath the concrete can help limit ground moisture rising through the floor, which is particularly useful when storing tools, timber, cartons or other moisture-sensitive items.
Choosing the right slab thickness
Thickness is one of the most important decisions when planning the best concrete for shed floors. A 100 mm slab is commonly suitable for a light-duty garden shed, provided the base is properly prepared and the slab is not expected to carry vehicles or unusually heavy equipment.
For a workshop, larger shed or space with vehicle access, 125 mm to 150 mm is often a better fit. The final thickness should reflect what will be stored or driven inside, as well as the bearing capacity of the ground. A concrete contractor can assess the site and recommend a practical specification rather than relying on a one-size-fits-all depth.
It is also worth planning for future use. A shed built for garden storage may later become a hobby workshop, home gym or secure parking area. If there is a realistic chance that loads will increase, allowing for that during construction can prevent a costly replacement later.
Reinforcement helps control cracking
Concrete is exceptionally strong in compression, but it can crack as it cures, shrinks and responds to ground movement. Reinforcement does not make concrete crack-proof. Instead, it helps hold any cracking tight and supports the slab as conditions change over time.
Steel reinforcing mesh is commonly used in shed slabs, with the mesh positioned within the concrete rather than left sitting on the base. Plastic bar chairs help keep it at the correct height during the pour. Heavier applications may require a different reinforcement design, particularly around door openings, edges and areas subject to concentrated loads.
Control joints are another essential detail. These planned joints encourage shrinkage cracks to form along straight, less noticeable lines instead of appearing randomly across the floor. Their spacing and placement should suit the slab size and shape, with care taken around internal corners and wide door openings where stress can concentrate.
The finish should suit the way you use the shed
A smooth trowelled finish is the most common choice for an enclosed shed. It creates a tidy, easy-to-sweep surface that works well under shelving, tool cabinets and workbenches. However, an overly polished finish can become slippery when wet, especially near an open roller door or where wet garden equipment is brought inside.
For sheds exposed to rain or used for washing equipment, a light broom finish can add useful slip resistance. The texture should be modest enough that it remains easy to clean. In some cases, a combination works well: a practical non-slip approach at the entry with a smooth finish through the main working area.
If the shed will become a finished workshop or entertaining space, the concrete can later be upgraded with an epoxy coating or another suitable floor system. The slab still needs to be designed and cured correctly from the start. Coatings can improve appearance and cleanability, but they cannot resolve moisture issues, movement or major cracking caused by poor slab construction.
Allow for doors, drainage and access
The floor level and shed entry need to work together. A slab that sits too low can allow stormwater to enter, while one that is too high may create an awkward step or make it difficult to move a mower, trailer or equipment through the doorway. The right solution depends on the shed design, surrounding levels and whether a ramp is required.
Where water may enter the shed, consider the fall of the slab and the area immediately outside the door. A small fall towards the entrance can help direct incidental water out, but it must be balanced carefully so equipment and stored items sit level. External drainage should manage runoff without directing water back against the slab edge.
The concrete area may also need to extend beyond the shed itself. A small apron at the entrance provides a firmer landing area, reduces mud being tracked inside and makes access easier. For workshops and vehicle sheds, it can also create a safer transition between the driveway and the internal floor.
Curing is where long-term strength is protected
Fresh concrete needs time to gain strength. Curing slows moisture loss from the surface, supporting a harder, more durable slab and reducing the chance of early shrinkage cracking. Hot, dry or windy weather can pull moisture from concrete quickly, so placement and curing need careful management during South East Queensland conditions.
Avoid loading the floor too soon. While concrete may be safe to walk on after a short period, heavy shelving, vehicles and equipment should wait until the slab has developed sufficient strength. The curing period is not a delay without purpose – it is part of building a floor that will keep working for years.
Work with a slab design that fits the shed
A reliable shed floor is rarely about choosing one product from a list. It is the result of suitable concrete strength, correct slab thickness, reinforcement, compaction, drainage and finishing working together. The detail that matters most will depend on whether you are building a compact garden shed or a fully equipped workshop.
Before construction begins, confirm the shed dimensions, door locations, intended loads and future plans. A professional concreting team can turn those practical requirements into a well-prepared slab that is level, durable and ready for the way you intend to use the space. That is how a simple shed floor becomes a dependable foundation for the projects, storage and work ahead.
