
Concrete Footpath Installation Process Explained
A footpath has a straightforward job: provide a safe, stable route through the property without creating drainage problems, trip hazards or a surface that deteriorates too soon. The concrete footpath installation process is what determines whether it does that job well. Good results come from careful groundwork, correct levels and finishing that suits both the location and how the path will be used.
For a garden pathway, side access, entry path or commercial pedestrian route, the visible concrete is only one part of the work. Preparation below the slab has just as much influence on long-term performance as the finish on top.
Start with the purpose, route and levels
Before excavation begins, the footpath route needs to make sense for the people using it. A direct line is usually practical, but a slight curve can work well around landscaping, pools, existing structures or changes in level. Width matters too. A narrow garden path may suit a single person, while an entry path or commercial accessway needs more room for regular pedestrian traffic, prams, bins, trolleys or mobility aids.
Levels are set early because water must move away from buildings and avoid pooling on the finished surface. A footpath should have a controlled fall so rainfall drains to an appropriate area without sending water towards a house slab, garage or neighbouring property. This is particularly important in Brisbane, Logan City and the Gold Coast, where heavy downpours can quickly expose poor drainage planning.
If the footpath crosses a driveway, meets a public verge or affects stormwater infrastructure, approvals and local requirements may apply. Public-facing works also need to meet relevant council specifications. Checking these details before work starts prevents costly changes later.
The concrete footpath installation process, step by step
1. Set out the path and prepare the site
The proposed path is marked out to confirm its width, alignment and finished height. Existing turf, plants, loose soil, old paving or damaged concrete are removed from the area. Excavation then allows for the depth of the concrete slab, the prepared base and any required edge formwork.
This stage often reveals conditions that need attention, such as soft ground, tree roots, buried services or poor drainage. Rather than covering a problem and hoping for the best, an experienced concreter adjusts the preparation method to suit the site. For example, weak or reactive ground may need more extensive base preparation than a firm, well-drained area.
2. Build and compact a stable base
A concrete footpath is only as reliable as the ground beneath it. The subgrade is trimmed to the required level and compacted, then a suitable road base or granular material is placed where needed. This material is spread evenly, brought to level and compacted thoroughly.
Compaction limits movement in the soil and base, reducing the chance of uneven settlement that can lead to cracking, ponding or raised edges. It also helps the slab carry everyday loads consistently. While a residential footpath is not a driveway, it still needs to handle foot traffic, garden equipment and occasional maintenance access without flexing unnecessarily.
The exact base depth and slab design depend on soil conditions, drainage, nearby structures and intended use. A path beside a home may need a different approach from a footpath at a warehouse, retail site or shared commercial entrance.
3. Install formwork and allow for drainage
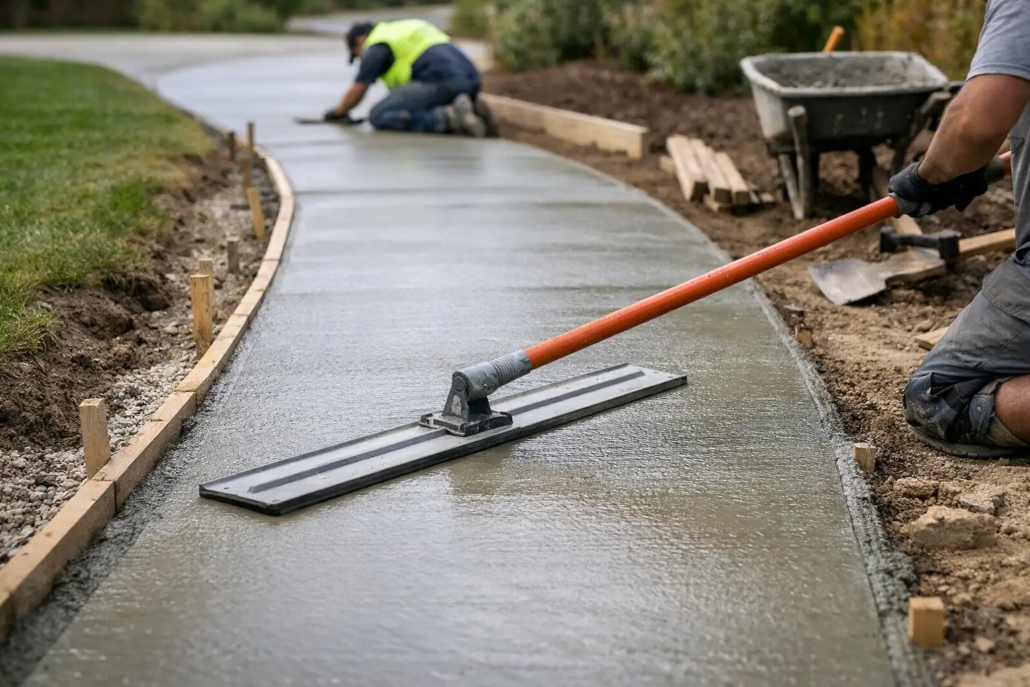
Timber or steel formwork creates the path edges and holds the concrete to its intended shape during placement. The forms are checked for line, level and fall. This is a precision step: even quality concrete will not correct forms that are uneven or poorly aligned.
Where required, reinforcement is installed to support the slab design and help manage movement. Reinforcement does not make concrete crack-proof, because concrete naturally shrinks as it cures. Its role is to help control cracking and keep the slab working as a connected surface where the design calls for it.
Drainage details are confirmed before the pour. This may include falls away from the building, connections around drains, or sensible transitions where the new path meets existing paving, driveways and door thresholds. Water should have a clear route off the surface, not a low point to sit in after rain.
4. Place, level and finish the concrete
Concrete is placed into the forms, distributed evenly and consolidated to remove air pockets. The surface is screeded to the correct level, then worked to achieve the selected finish. Timing matters. Finishing too early can weaken the surface, while leaving it too late makes it difficult to produce a consistent result.
For most footpaths, a broom finish is a practical choice. It gives the surface texture for better slip resistance while retaining a neat, uniform appearance. The direction and depth of the texture should suit the slope and use of the path. A smooth, highly polished finish may look attractive in the right setting, but it is not always the best option for an external walkway exposed to rain.
Decorative concrete can also be appropriate where the footpath contributes to the overall landscape design. Coloured concrete, exposed aggregate and selected decorative finishes can complement driveways, patios and pool surrounds. The trade-off is that some finishes require more careful selection and maintenance, particularly in shaded areas that may collect moisture or leaf litter.
5. Cut joints to manage natural movement
Control joints are planned into the slab at suitable intervals. These are intentional lines that encourage concrete to crack neatly in a less noticeable location as it shrinks and responds to temperature changes. Joints are commonly tooled into the surface or saw-cut after the concrete has reached the right stage of curing.
Joint placement should account for corners, changes in direction and connections to other concrete. Random cracks cannot always be eliminated, but correctly positioned joints are one of the most effective ways to manage the normal movement of concrete and protect the finished appearance.
6. Cure the footpath properly
Concrete gains strength over time, not the moment it appears firm. Curing protects the slab while this strength develops by limiting moisture loss, especially in warm, windy conditions. Depending on the project, curing may involve a curing compound, protective coverings or other suitable methods.
Fresh concrete also needs protection from early traffic, pets, falling leaves, irrigation overspray and unexpected weather. The site should remain clear until the path has developed enough strength for its intended use. Rushing this period can mark the finish or compromise an otherwise well-executed installation.
Details that make a footpath safer and longer lasting
A well-built footpath looks simple because the technical decisions have been made properly. The surface should drain, edges should be clean, transitions should not create a trip point, and the finish should provide suitable grip when wet. Around pool areas, shaded side paths and commercial entries, slip resistance deserves particular attention.
It is also worth thinking beyond the day of installation. Trees and large shrubs close to the path can create future lifting issues as roots develop. Garden beds need to be arranged so soil and mulch do not continually wash onto the concrete. Downpipes should discharge in a way that does not erode the path edge or leave water running across pedestrian areas.
For existing concrete footpaths with surface wear but a sound base, resurfacing may be an option. Where the slab has significant movement, poor drainage or widespread cracking, repairs to the underlying cause are usually more important than applying a cosmetic layer.
When professional installation matters most
Small paths can appear uncomplicated, yet the consequences of incorrect levels or poor compaction may take months to show. Professional installation is especially valuable where a footpath sits close to the house, connects to a driveway, crosses uneven ground, requires decorative concrete, or forms part of a commercial pedestrian route.
Creative Concrete Constructions approaches each project with the site conditions and end use in mind, rather than applying one method to every path. Clear preparation, careful finishing and practical communication help ensure the completed surface works with the property, not against it.
A concrete footpath should feel effortless to use: level underfoot, safe after rain and finished in a way that belongs with the rest of the property. Giving the preparation and curing stages the same attention as the visible finish is the most reliable way to achieve that result.

